1. เปลี่ยน Binding Port ใน Microsoft IIS
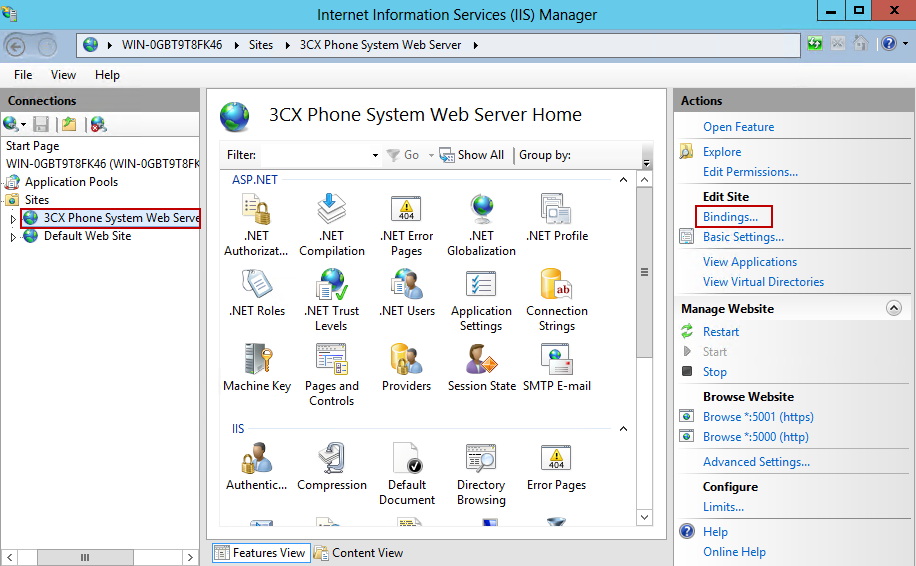
1.1 เปิด IIS Manager
คลิ๊กที่ Site -> 3CX Phone System Web Server
คลิ๊ก Binding... ด้านขวามือ
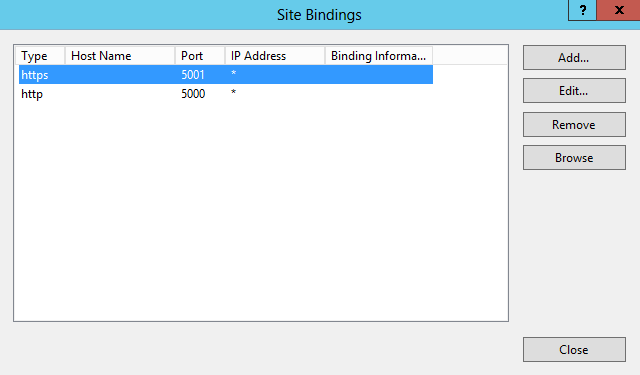
1.2 เปลี่ยน HTTP และ HTTPS พอร์ต
คลิ๊กที่ https หรือ http แล้วคลิ๊ก Edit
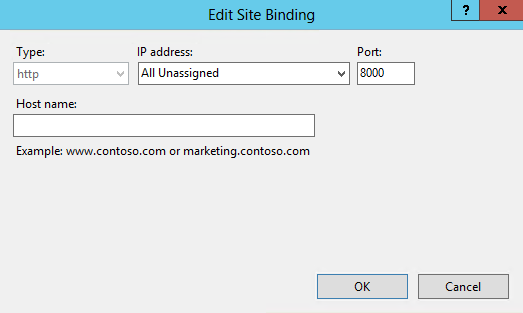
เปลี่ยนหมายเลข Port แล้วคลิ๊ก OK

เปลี่ยนพอร์ตที่เหลือ แล้วคลิ๊ก OK
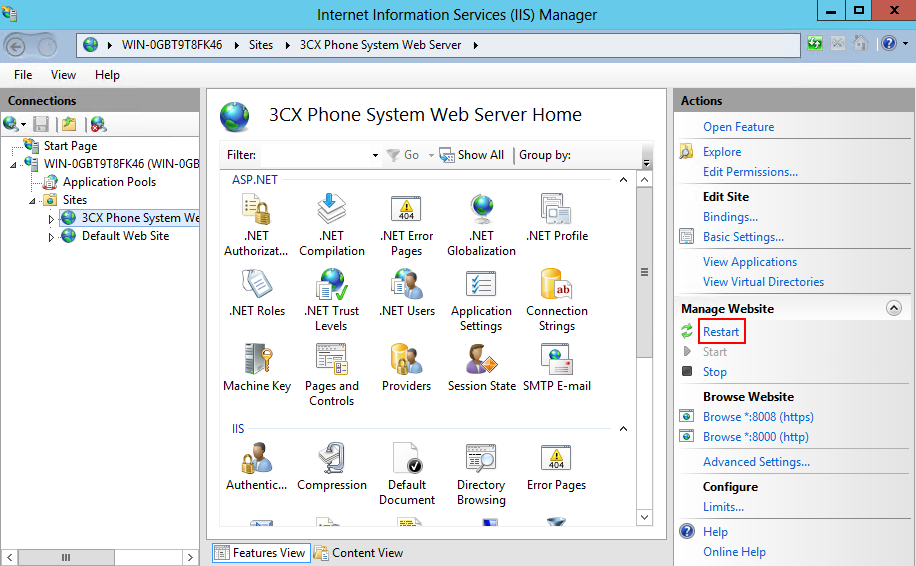
1.3 คลิ๊ก Close

1.4 คลิ๊ก Restart
2. เปลี่ยน Allowed Port ของ 3CX Phone System ใน Windows Firewall
2.1 เปิด Windows Firewall
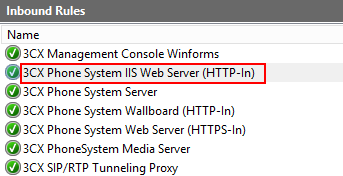
คลิ๊ก Inbound Rules

2.2 Allow Port 8000
ดับเบิลคลิ๊ก 3CX Phone System IIS Web Server (HTTP-In)
คลิ๊กแท็ป Protocols and Ports
เปลี่ยนตัวเลข Local Port 5000
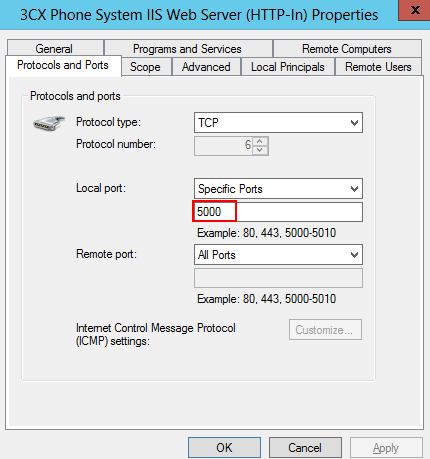
ให้เป็น 8000
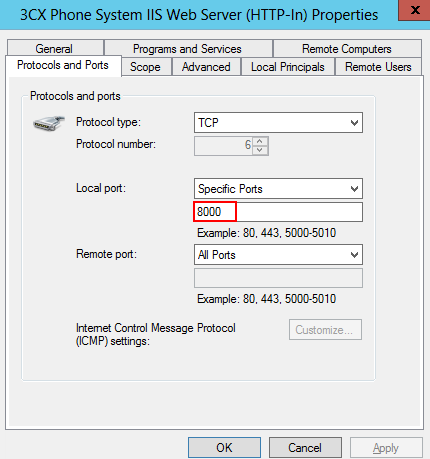
แล้วกด OK
2.3 Allow Port 8008
ดับเบิลคลิ๊ก 3CX Phone System Web Server (HTTPS-In)
คลิ๊กแท็ป Protocols and Ports
เปลี่ยนตัวเลข Local Port 5001
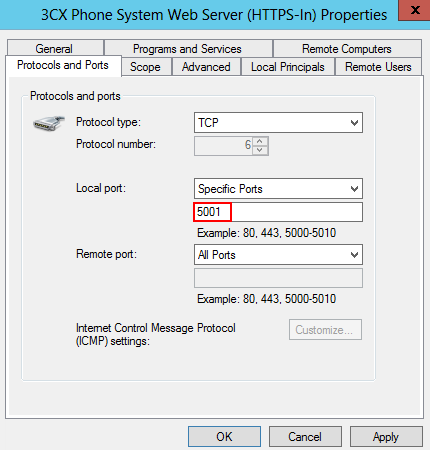
ให้เป็น 8008

แล้วกด OK
คอนฟิกมีผลทันทีครับ
3. ทดสอบ
เข้าเว็บคอนฟิก 3CX ด้วยพอร์ตใหม่ 8000 สำหรับ HTTP หรือ 8008 สำหรับ HTTPS
3. คอนฟิก 3CX Phone System ด้วยพอร์ตใหม่ 8000 และ 8008
- โค้ด: เลือกทั้งหมด
http://192.168.100.30:8000/management/MainForm.wgx
- โค้ด: เลือกทั้งหมด
https://192.168.100.30:8008/management/MainForm.wgx